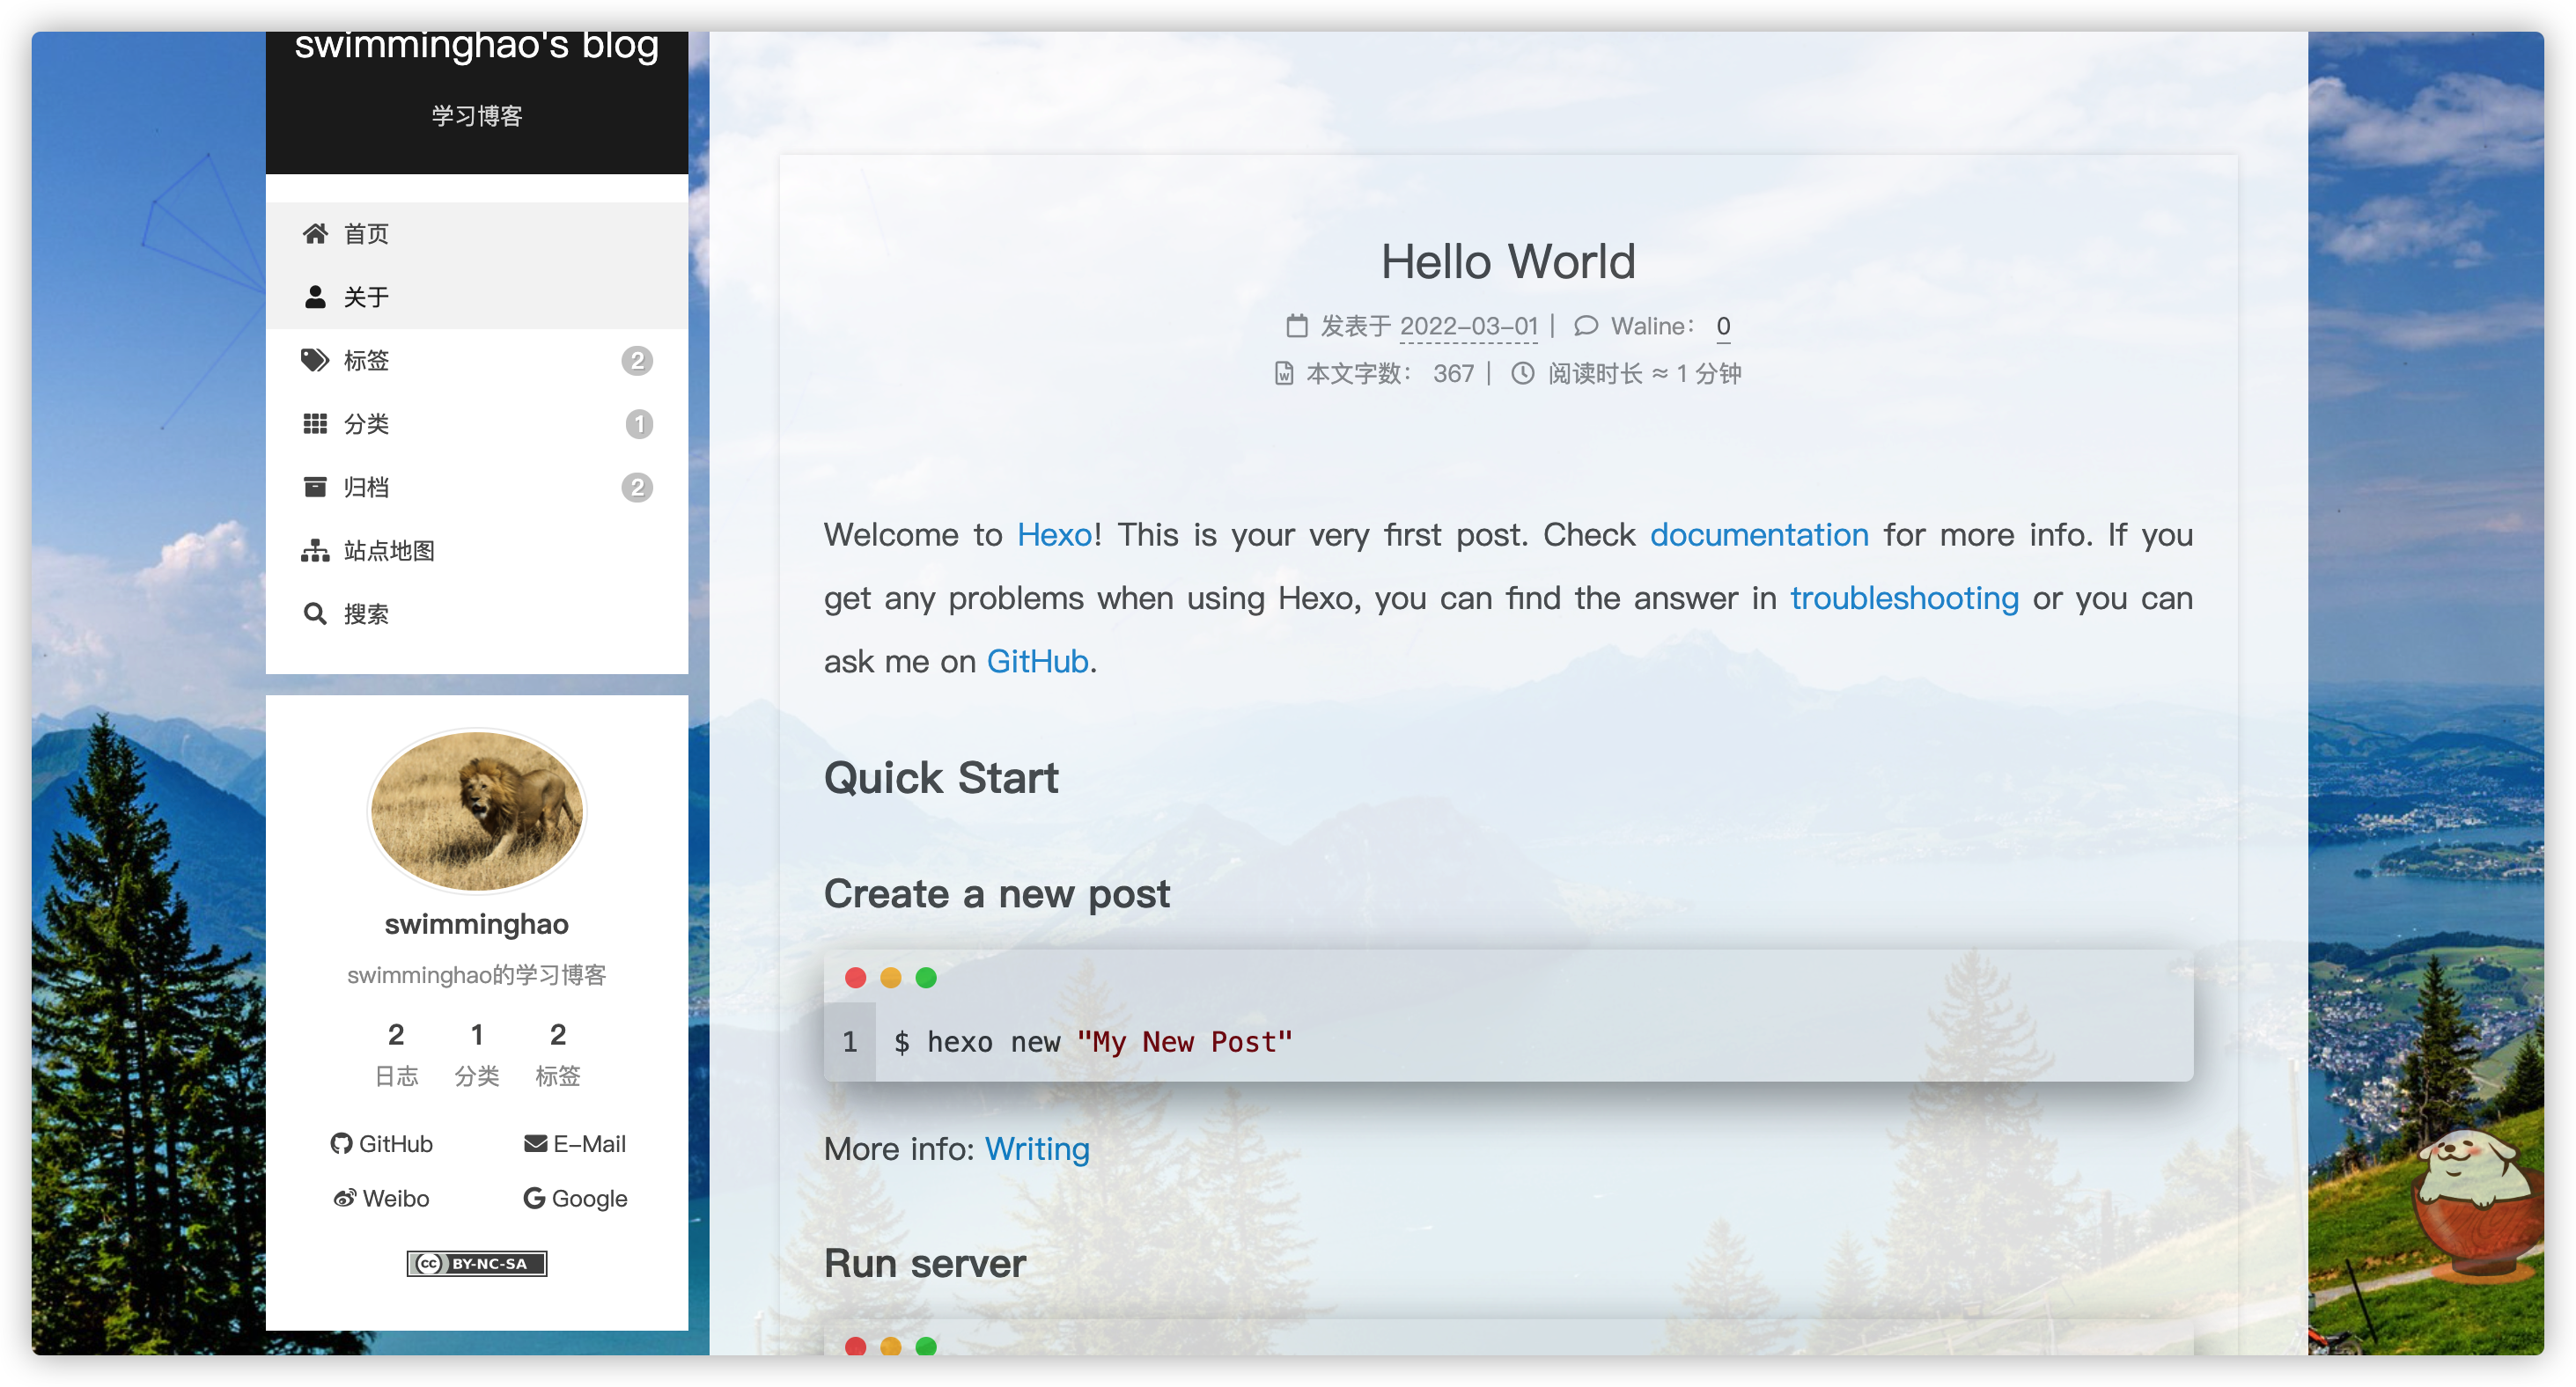
Hexo-Next 主题博客个性化配置(2022年更行版本) 网页预览: swimminghao.netlify.app 简约风格的,一个好的博客,应该让人一眼就能看清楚技术分类,文章也应该就是文章,让人能够最好的阅读你的博客 这才是我们应该做的,所以没有太多花里胡哨的东西。
使用工具:
Git
Hexo简易安装 前置条件 软件版本
HEXO: 6.0.6
安装hexo 主题下载安装 进入命令行,下载 NexT 主题,输入:
1 git clone https://github.com/next-theme/hexo-theme-next/ themes/next
修改站点配置文件_config.yml,找到如下代码:
1 2 theme: landscape => next
将 landscape 修改为 next 即可。
配置文件 在 Hexo 中有两份 主要的配置文件,其名称都是 _config.yml 。 其中,一份位于站点根目录下,主要包含 Hexo 本身的站点配置;另一份位于主题目录下 ,这份配置由主题作者提供,主要用于配置主题相关的选项。
为了描述方便,在以下说明中,将前者称为 **站点配置文件**, 后者称为 **主题配置文件**。
1 2 /hexo/_config.yml /hexo/themes/next/_config.yml
修改语言 打开站点配置文件,搜索 language,找到如下代码:
1 2 3 author: authorName language: zh-CN timezone: Asia/Shanghai
新建标签及分类界面 打开 主题配置文件 ,搜索 menu,找到如下代码:
1 2 3 4 5 6 7 8 9 menu: home: / || fa fa-home about: /about/ || fa fa-user tags: /tags/ || fa fa-tags categories: /categories/ || fa fa-th archives: /archives/ || fa fa-archive sitemap: /sitemap.xml || fa fa-sitemap
把 tags 和 categories 前面的 # 删除,
切换主题 next 主题自带四种样式 。
在主题配置文件/next/_config.yml中查找:scheme,找到如下代码:
1 2 3 4 5 6 scheme: Muse 选择你喜欢的一种样式,去掉前面的
隐藏网页底部 powered By Hexo / 强力驱动 打开 themes/next/layout/_partials/footer.njk
找到:
1 2 3 4 5 6 {\%- if theme.footer.powered %} <div class="powered-by" > {\%- set next_site = 'https://theme-next.js.org' if theme.scheme === 'Gemini' else 'https://theme-next.js.org/' + theme.scheme | lower + '/' %} {{- __('footer.powered' , next_url('https://hexo.io' , 'Hexo' ) + ' & ' + next_url(next_site, 'NexT.' + theme.scheme)) }} </div> {\%- endif %}
把这段代码首尾分别加上:<!-- 和-->,或者直接删除。
主页文章添加阴影 参考: Hexo NexT 主题美化记录 themes\next\source\css\_common\components\post\index.styl文件,将post-block更改为如下代码:
1 2 3 4 5 6 7 8 9 10 11 12 13 if (hexo-config('motion.transition.post_block')) { .post-block { margin-top: 60px; margin-bottom: 60px; padding: 25px; background:rgba(255 ,255 ,255 ,0.9 ) none repeat scroll !important; //添加透明效果 -webkit-box-shadow: 0 0 5px rgba(202 , 203 , 203 , .5 ); -moz-box-shadow: 0 0 5px rgba(202 , 203 , 204 , .5 ); } .pagination , .comments { opacity: 0 ; } }
页脚增加网站运行时间统计
打开themes/next/layout/_partials/footer.njk文件,在如下图位置加入代码:
1 2 3 4 5 6 7 8 9 10 11 12 13 14 15 16 17 18 19 20 21 22 23 24 25 26 27 28 29 30 31 32 {\%- if config.symbols_count_time .total_symbols or config.symbols_count_time .total_time %} <div class ="wordcount" > {\%- if config.symbols_count_time .total_symbols %} <span class ="post-meta-item" > <span class ="post-meta-item-icon" > <i class ="fa fa-chart-line" > </i > </span > {\%- if theme.symbols_count_time .item_text_total %} <span>{{ __ ('symbols_count_time.count_total' ) + __ ('symbol.colon' ) }}</span> {\%- endif %} <span title="{{ __('symbols_count_time.count_total') }}" >{{ symbolsCountTotal (site) }}</span> </span> {\%- endif %} {\%- if config.symbols_count_time .total_time %} <span class ="post-meta-item" > <span class ="post-meta-item-icon" > <i class ="fa fa-coffee" > </i > </span > {\%- if theme.symbols_count_time .item_text_total %} <span>{{ __ ('symbols_count_time.time_total' ) }} ≈</span> {\%- endif %} <span title="{{ __('symbols_count_time.time_total') }}" >{{ symbolsTimeTotal (site, config.symbols_count_time .awl , config.symbols_count_time .wpm , __ ('symbols_count_time.time_minutes' )) }}</span> </span> {\%- endif %} </div> {\%- endif %} {\%- if theme.busuanzi_count .enable %} <div class ="busuanzi-count" >
倒计时代码:
1 2 3 4 5 6 7 8 9 10 11 12 13 14 15 16 17 18 19 20 21 22 23 24 25 26 27 28 29 30 31 32 33 34 35 36 <span id="sitetime" ></span> <script language =javascript > function siteTime ( window .setTimeout ("siteTime()" , 1000 ); var seconds = 1000 ; var minutes = seconds * 60 ; var hours = minutes * 60 ; var days = hours * 24 ; var years = days * 365 ; var today = new Date (); var todayYear = today.getFullYear (); var todayMonth = today.getMonth ()+1 ; var todayDate = today.getDate (); var todayHour = today.getHours (); var todayMinute = today.getMinutes (); var todaySecond = today.getSeconds (); var t1 = Date .UTC (2022 ,01 ,04 ,00 ,00 ,00 ); var t2 = Date .UTC (todayYear,todayMonth,todayDate,todayHour,todayMinute,todaySecond); var diff = t2-t1; var diffYears = Math .floor (diff/years); var diffDays = Math .floor ((diff/days)-diffYears*365 ); var diffHours = Math .floor ((diff-(diffYears*365 +diffDays)*days)/hours); var diffMinutes = Math .floor ((diff-(diffYears*365 +diffDays)*days-diffHours*hours)/minutes); var diffSeconds = Math .floor ((diff-(diffYears*365 +diffDays)*days-diffHours*hours-diffMinutes*minutes)/seconds); document .getElementById ("sitetime" ).innerHTML =" Run for " +diffYears+" Year " +diffDays+" Days " +diffHours+" Hours " +diffMinutes+" m " +diffSeconds+" s" ; } siteTime (); </script >
在themes\next\source\css\main.styl文件中给倒计时添加样式
不生效
1 2 3 4 5 #sitetime { background-image : -webkit-linear-gradient (left, #aa4b6b , #6b6b83 , #3b8d99 ); -webkit-background-clip : text; -webkit-text-fill-color : transparent; }
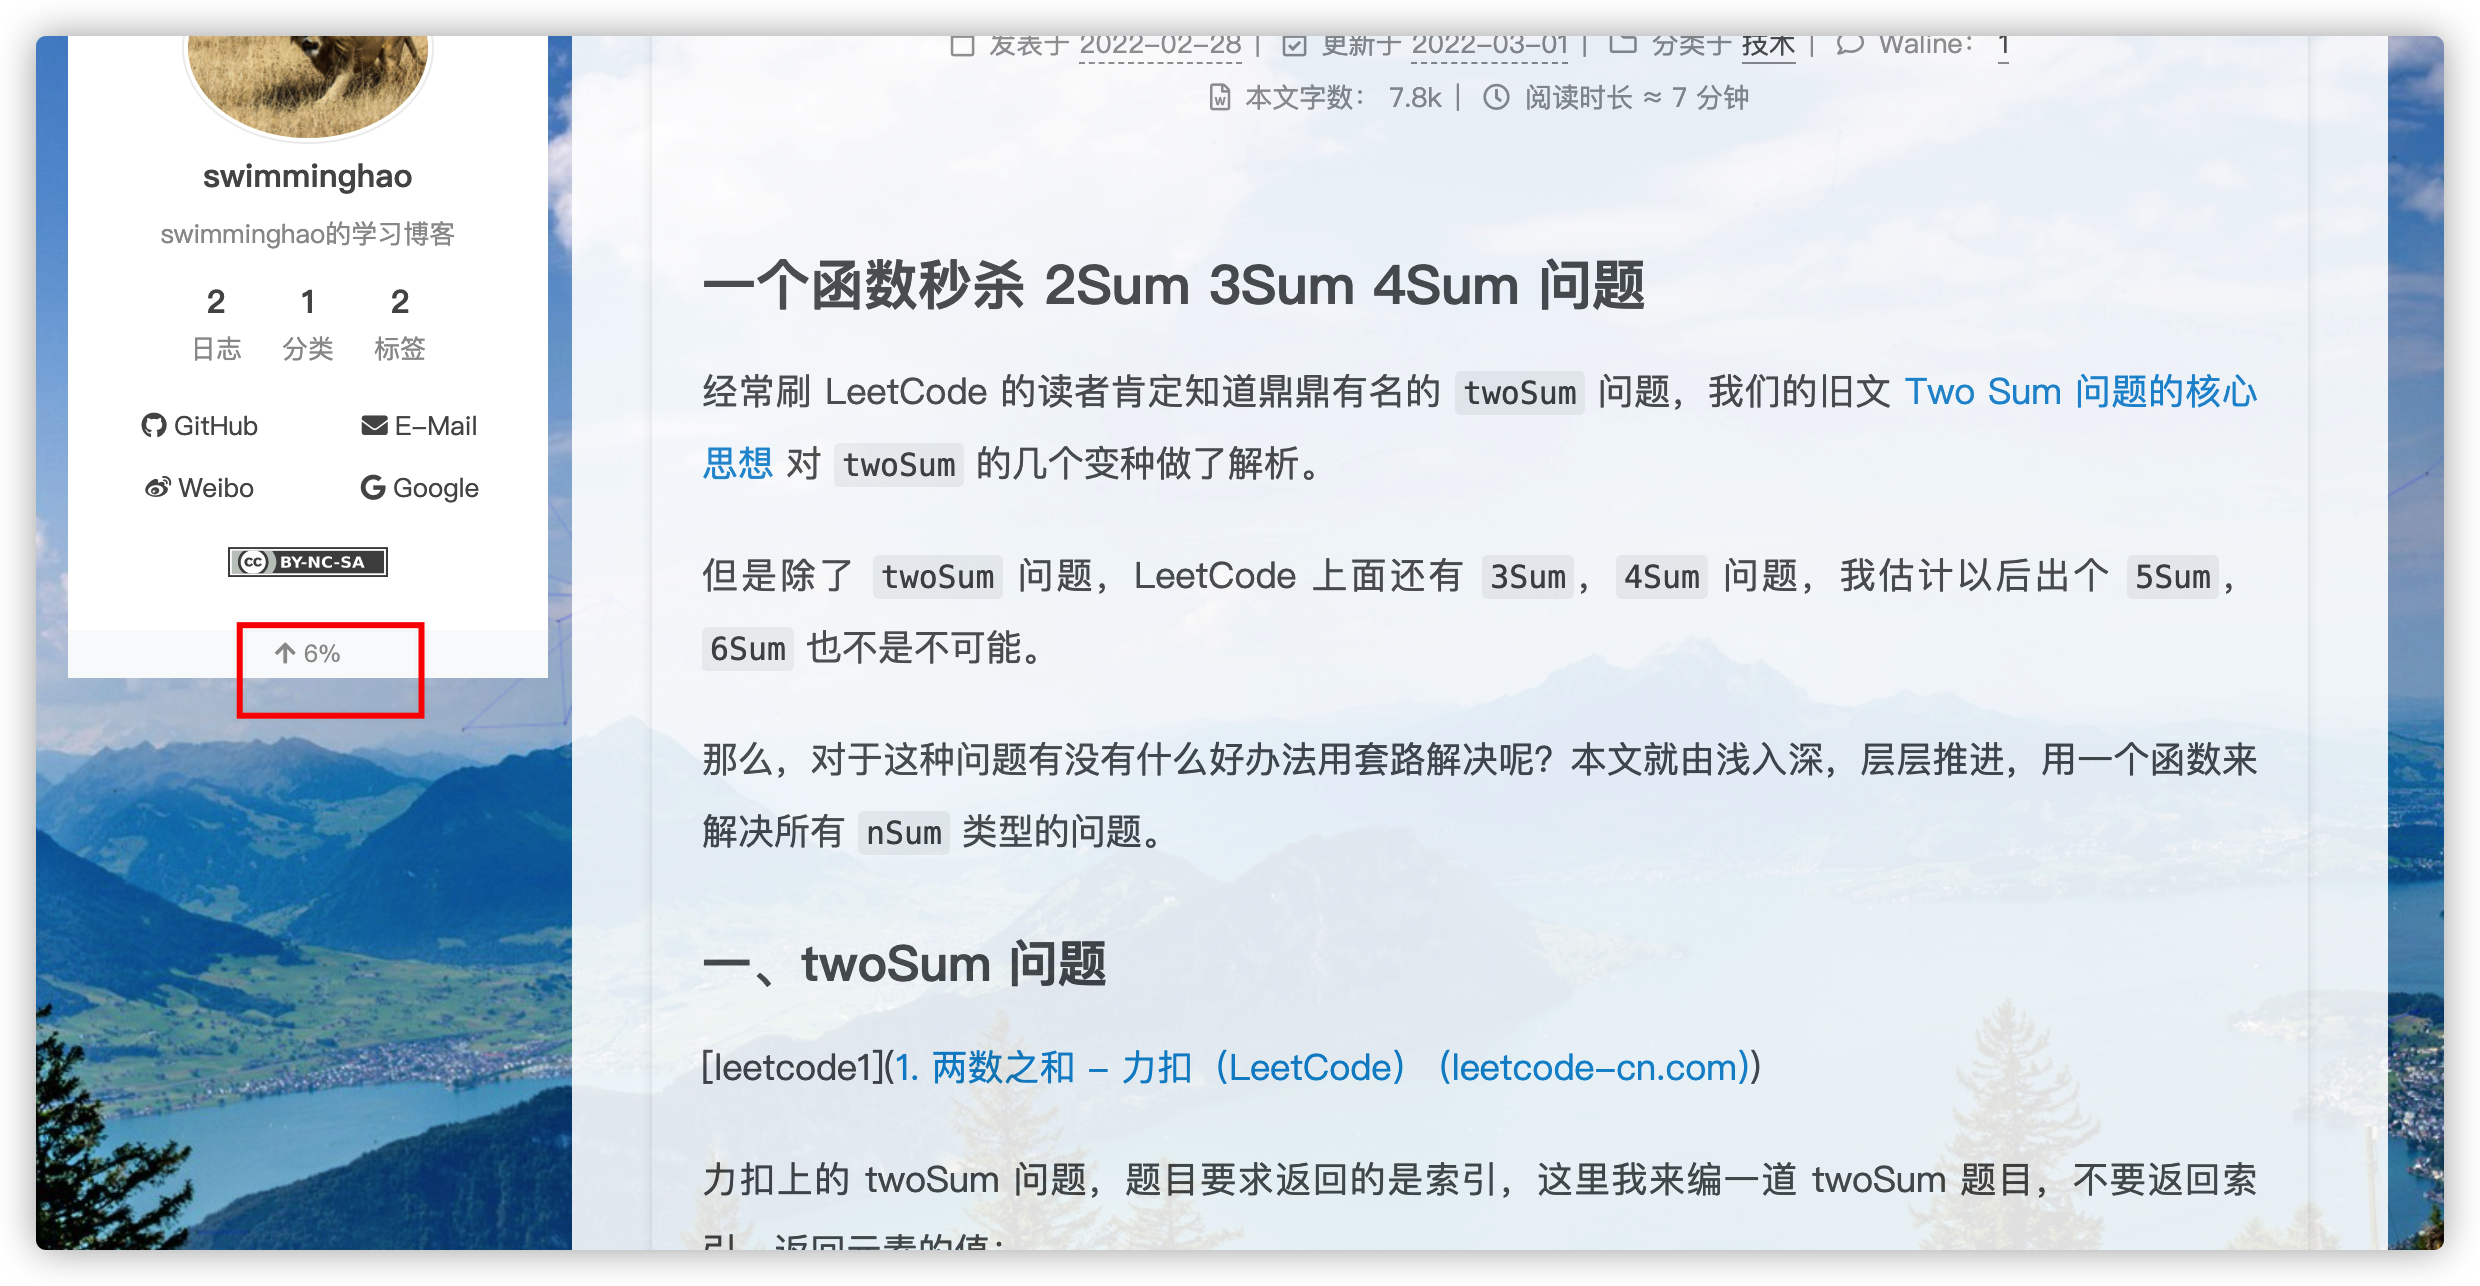
浏览页面显示当前浏览进度 打开 themes/next/_config.yml,搜索关键字 scrollpercent,把 false 改为 true。
效果图:
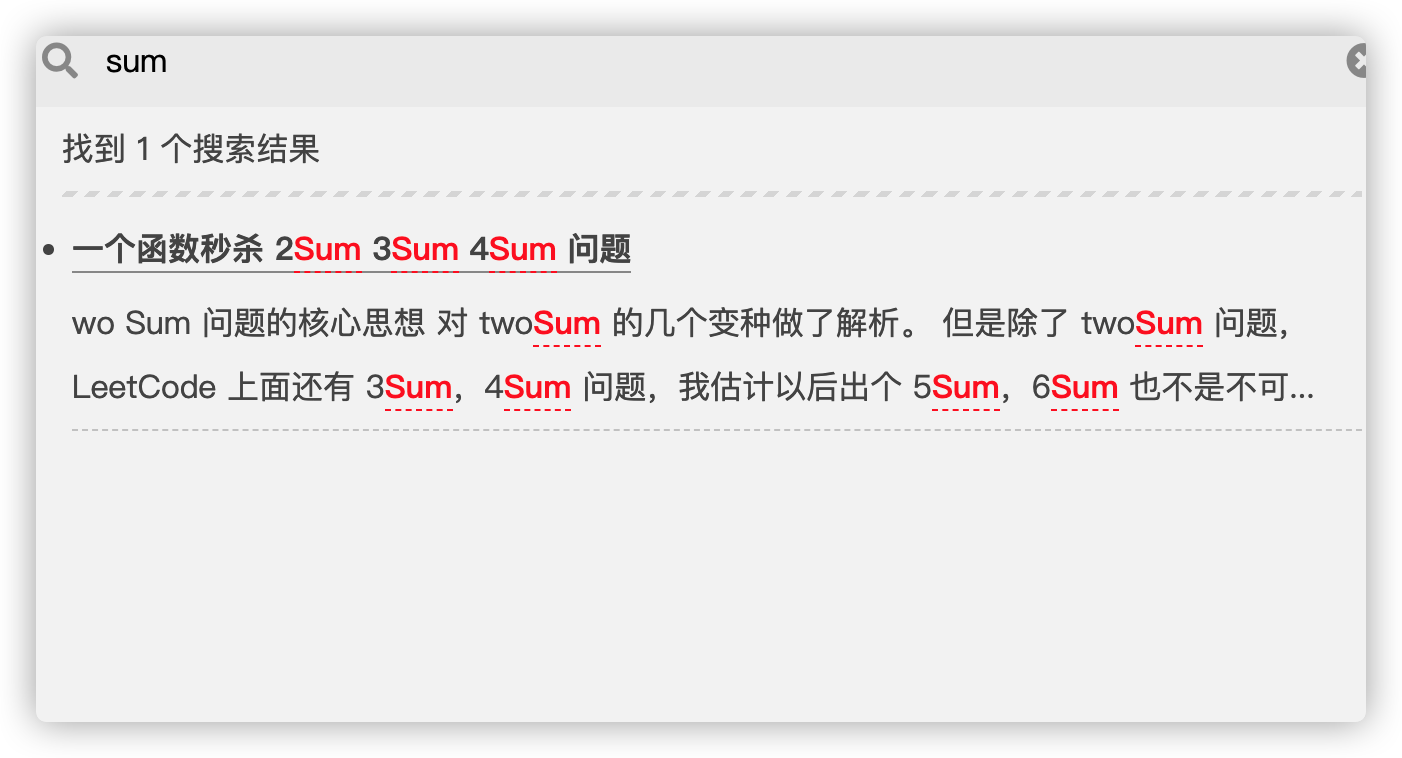
Local Search本地搜索 安装插件hexo-generator-searchdb,执行以下命令:
1 npm install hexo-generator-searchdb --save
修改hexo/_config.yml站点配置文件,新增以下内容到任意位置:
1 2 3 4 5 search: path: search.xml field: post format: html limit: 10000
编辑 主题配置文件 ,启用本地搜索功能:
1 2 3 local_search: enable: true
效果图:
设置网站图标 在 EasyIcon 中找一张(32 * 32)的 ico 图标,或者去别的网站下载或者制作,并将图标名称改为 favicon.ico,然后把图标放在 /themes/next/source/images 里,并且修改主题配置文件:
1 2 Put your favicon.ico into `hexo-site/source/` directory. favicon: /favicon.ico
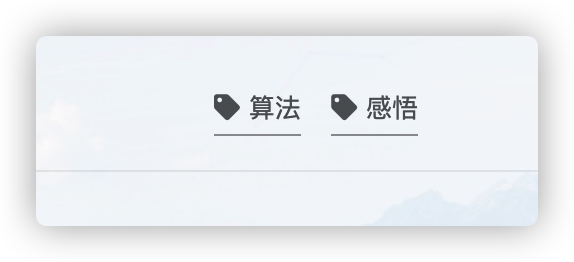
修改文章底部的#号的标签,改为图标 修改模板/themes/next/layout/_macro/post.swig
搜索 rel="tag">{{ tag_indicate }},将 {{ tag_indicate }} 换成<i class="fa fa-tag"></i>
效果图:
文章分享功能 打开themes/next/_config.yml 搜索关键字needmoreshare2 修改为下面设置
用npm卸载掉hexo-next-share,搜索所有hexo-next-share文件夹删除干净,然后切换到网站文件夹 下,运行npm install theme-next/hexo-next-share --save,将以下代码都复制进主题配置文件 里
1 2 3 4 5 6 7 8 9 10 11 12 13 14 15 16 17 18 19 20 21 22 23 24 25 26 27 28 29 30 31 32 33 34 35 36 37 38 39 40 41 42 43 44 45 46 47 48 49 50 51 52 53 54 55 56 57 58 59 60 61 62 63 needmoreshare: enable: true cdn: js: //cdn.jsdelivr.net/gh/theme-next/theme-next-needmoreshare2@1/needsharebutton.min.js css: //cdn.jsdelivr.net/gh/theme-next/theme-next-needmoreshare2@1/needsharebutton.min.css postbottom: enable: true options: iconStyle: default boxForm: horizontal position: middleCenter networks: Weibo,Wechat,Douban,QQZone,Twitter,Facebook float: enable: false options: iconStyle: default boxForm: horizontal position: middleCenter networks: Weibo,Wechat,Douban,QQZone,Twitter,Facebook likely: enable: false cdn: js: //cdn.jsdelivr.net/npm/ilyabirman-likely@2/release/likely.min.js css: //cdn.jsdelivr.net/npm/ilyabirman-likely@2/release/likely.min.css look: light networks: twitter: Tweet facebook: Share linkedin: Link gplus: Plus vkontakte: Share odnoklassniki: Class telegram: Send whatsapp: Send pinterest: Pin sharejs: enable: false cdn: js: //cdn.jsdelivr.net/npm/social-share.js@1/dist/js/social-share.min.js css: //cdn.jsdelivr.net/npm/social-share.js@1/dist/js/social-share.min.css networks: weibo,qq,wechat,tencent,douban,qzone,linkedin,diandian,facebook,twitter,google wechat_qrcode: title: share.title prompt: share.prompt
效果图:postbottom为文章末尾分享 float则是在页面侧端分享
文章加密访问 参考链接: hexo文章加密访问
增加文章字数统计及阅读时常功能 安装字数统计插件 npm i hexo-symbols-count-timehexo的_config.yml下找到# Extensions在下面配置插件配置如下
1 2 3 4 5 6 7 symbols_count_time: symbols: true time: true total_symbols: true total_time: true exclude_codeblock: false
文章置顶功能 移除默认安装的插件:
npm uninstall hexo-generator-index --save
npm install hexo-generator-index-pin-top --save
如果你置顶了多篇,怎么控制顺序呢?设置top的值(大的在前面),比如:
1 2 3 4 5 6 7 8 # Post a.md title: a top: 1 # Post b.md title: b top: 10 1234567
文章 b 便会显示在文章 a 的前面
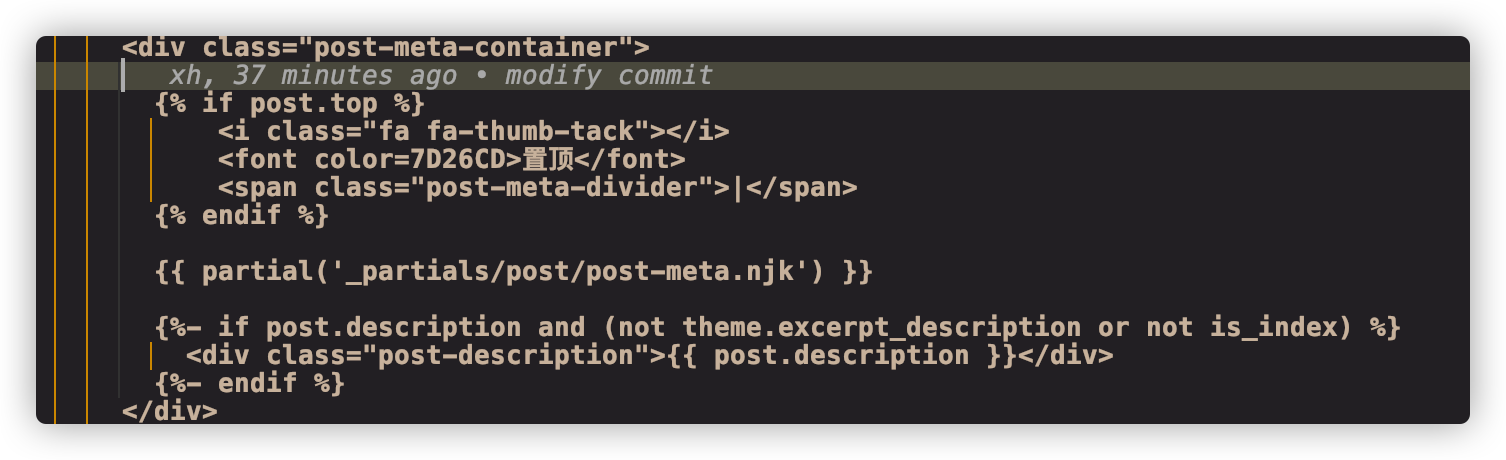
设置置顶图标/themes/next/layout/_macro/post.swig文件,在<div class="post-meta-container">下方,插入如下代码:
1 2 3 4 5 {\% if post.top %} <i class ="fa fa-thumb-tack" ></i> <font color =7D26CD > 置顶</font > <span class ="post-meta-divider" > |</span > {\% endif %}
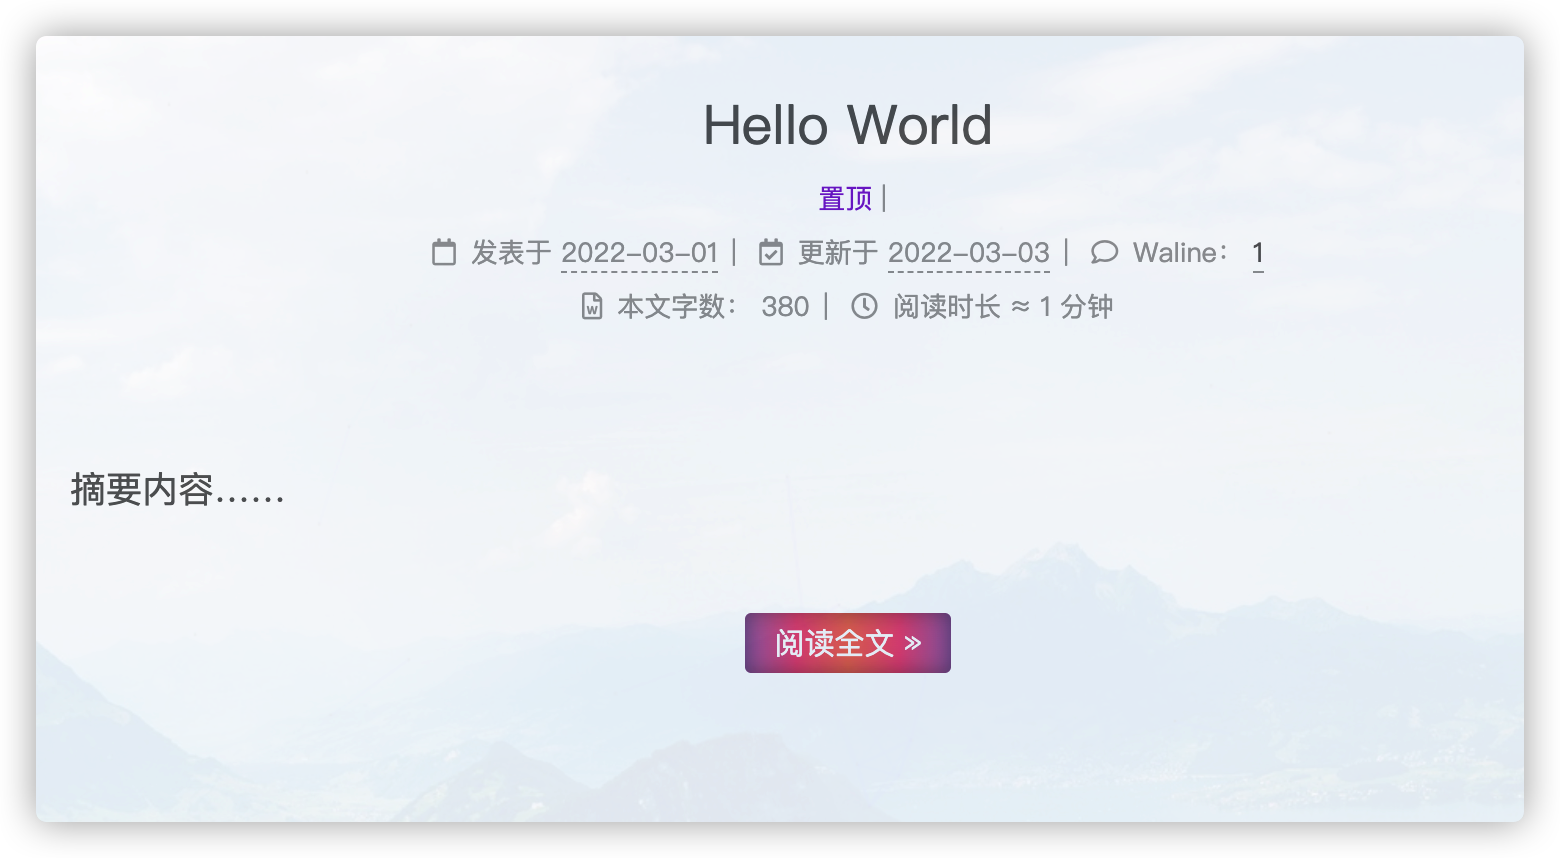
修改[Read More]按钮样式 修改themes/next/source/css/_common/components/post/index.styl文件,加入自定义样式
1 2 3 4 5 6 7 8 9 10 11 12 13 14 15 16 17 18 19 // [Read More] 按钮样式 .post-button .btn { color : #555 !important ; background-color : rgb (255 , 255 , 255 ); border-radius : 3px ; font-size : 15px ; box-shadow : inset 0px 0px 10px 0px rgba (0 , 0 , 0 , 0.35 ); border : none !important ; transition-property : unset; padding : 0px 15px ; } .post-button .btn :hover { color : rgb (255 , 255 , 255 ) !important ; border-radius : 3px ; font-size : 15px ; box-shadow : inset 0px 0px 10px 0px rgba (0 , 0 , 0 , 0.35 ); background-image : linear-gradient (90deg , #a166ab 0% , #ef4e7b 25% , #f37055 50% , #ef4e7b 75% , #a166ab 100% ); }
效果图:
修改 阅读全文 前显示文字数量即位置 打开 themes/next/_config.yml,搜索关键字 auto_excerpt, 修改length即可修改阅读全文前显示文字数量
1 2 3 auto_excerpt: enable: true length: 150
或者在文章中任意位置添加<!-- more -->
建议在文章中加入 <!-- more -->
修改链接文字样式 打开themes/next/source/css/_common/components/post/index.styl添加以下代码:
1 2 3 4 5 6 7 8 .post-body p a{ color: border-bottom: none; &:hover { color: text-decoration: underline; } }
效果图:
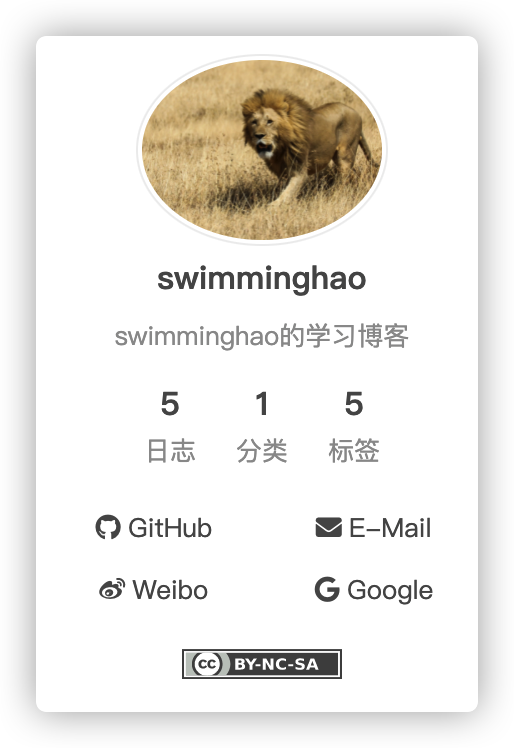
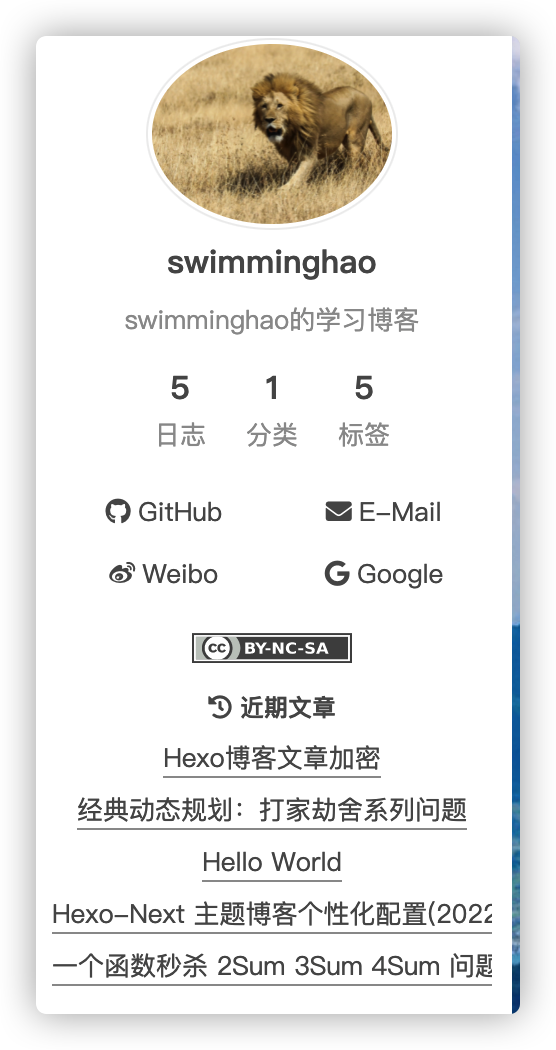
头像设置圆形,停留旋转效果 修改next主题配置文件,修改成以下代码:
1 2 3 4 5 6 7 8 9 avatar: url: /images/lion.png rounded: true rotated: false
效果图:
增加近期文章 hexo主站source 目录下创建 _data/sidebar.njk 文件,加入如下内容:
1 2 3 4 5 6 7 8 9 10 11 12 13 14 15 16 17 18 {# recent posts #} {\% if theme.recent_posts %} <div class="links-of-blogroll motion-element {{ "links-of-blogroll-" + theme.recent_posts_layout }}"> <div class="links-of-blogroll-title"> <!-- modify icon to fire by szw --> <i class="fa fa-history fa-{{ theme.recent_posts_icon | lower }}" aria-hidden="true"></i > {{ theme.recent_posts_title }} </div > <ul class="links-of-blogroll-list"> {\% set posts = site.posts .sort ('-date') %} {\% for post in posts.slice ('0 ', '5 ') %} <li class="recent_posts_li"> <a href="{{ url_for(post.path ) }}" title="{{ post.title }}" target="_blank">{{ post.title }}</a > </li > {\% endfor %} </ul > </div > {\% endif %}
并修改theme主题配置文件,取消sidebar的注释:
1 2 3 4 5 6 7 8 9 10 11 12 custom_file_path: sidebar: source/_data/sidebar.njk footer: source/_data/footer.swig style: source/_data/styles.styl
编辑themes/next/source/css/_common/outline/sidebar/sidebar-blogroll.styl文件,标题溢出隐藏
1 2 3 4 5 6 7 8 9 10 11 .links-of-blogroll-list { list-style: none; margin: 0 ; padding: 0 ; text-align: cengter; display: block; word-break: keep-all; white-space: nowrap; overflow: hidden; text-overflow: ellipsis; }
在 themes/next/_config.yml中修改成下方代码
1 2 3 4 recent_posts_title: 近期文章 recent_posts_layout: block recent_posts: true
效果图:
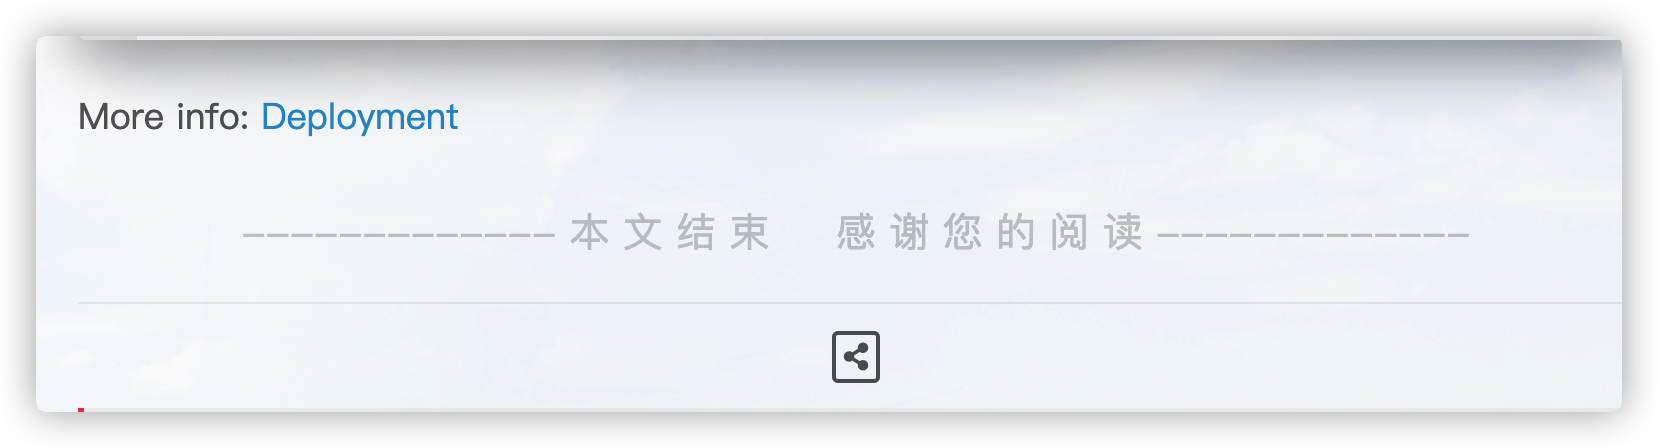
文章末尾添加”本文结束”标记
在目录themes/next/layout/_macro/下添加passage-end-tag.swig,内容如下:
1 2 3 4 5 <div > {\% if not is_index %} <div style ="text-align:center;color: #ccc;font-size:20px;" > ------------- 本 文 结 束     感 谢 您 的 阅 读 -------------</div > {\% endif %} </div >
打开themes/next/layout/_macro/post.swig文件,新增内容如下:
```HTML
{\% if not is_index %}
{\% include 'passage-end-tag.swig' %}
{\% endif %}
1 2 3 4 5 6 - 打开`主题配置文件`,添加代码如下: - ```js # 文章末尾添加“本文结束”标记 passage_end_tag: enabled: true
为博客加上妹子 live2d与busuanzi组件有bug冲突,安装了live2d,busuanzi就失效,所以我没有使用。
npm install -save hexo-helper-live2d
1 2 3 4 5 6 7 8 9 10 11 12 13 14 15 16 17 18 live2d: enable: true scriptFrom: local pluginRootPath: live2dw/ pluginJsPath: lib/ pluginModelPath: assets/ tagMode: false log: false model: use: live2d-widget-model-<你喜欢的模型名字>s display: position: right width: 150 height: 300 mobile: show: true 12345678910111213141516
可供选择模型:
live2d-widget-model-chitoselive2d-widget-model-epsilon2_1live2d-widget-model-gflive2d-widget-model-haru/01 (use npm install --save live2d-widget-model-haru)live2d-widget-model-haru/02 (use npm install --save live2d-widget-model-haru)live2d-widget-model-harutolive2d-widget-model-hibikilive2d-widget-model-hijikilive2d-widget-model-izumilive2d-widget-model-koharulive2d-widget-model-mikulive2d-widget-model-ni-jlive2d-widget-model-nicolive2d-widget-model-nietzschelive2d-widget-model-nipsilonlive2d-widget-model-nitolive2d-widget-model-shizukulive2d-widget-model-tororolive2d-widget-model-tsumikilive2d-widget-model-unitychanlive2d-widget-model-wankolive2d-widget-model-z16
在站点目录下建文件夹live2d_models,
再在live2d_models下建文件夹<你喜欢的模型名字>,
再在<你喜欢的模型名字>下建json文件:<你喜欢的模型名字>.model.json
安装模型。在命令行(即Git Bash)运行以下命令即可:
复制你喜欢的模型名字:
代码块复制选项 Next6 中自带了复制代码按钮,Next5 需要自己手动配置。
搜索 codeblock,找到如下配置:
1 2 3 4 5 codeblock: border_radius: 8 copy_button: enable: true show_result: true
修改加载特效 由于网页不可能一直都秒进,总会等待一段时间的,所以可以设置顶部加载条。Next 已经集成了很多加载特效,可以在下面选项中在线调试测试一下。
next主题配置文件搜索pace,找到如下代码:
1 2 3 4 5 6 7 8 9 10 11 G# For more information: https://github.com/CodeByZach/pace pace: enable: true color: blue theme: loading-bar
修改文章链接 在做次优化之前,hexo-next文章链接默认的生成规则是::year/:month/:day/:title,是按照年、月、日、标题来生成的。https://zxiaoxuan.github.io/2019/08/12/hello-world/ 这样,如果文章标题是中文的话,URL链接是也会是中文,
那么要生存简洁且唯一的URL,怎么办呢
安装插件
1 npm install hexo-abbrlink --save
执行此命令可能会不成功,提示你缺少相应的依赖,比如babel-eslint、mini-css-extract-plugin、webpack-cli…eslint@4.x babel-eslint@8 –save-dev
修改根目录站点配置文件config.yml,改为:
1 2 3 4 permalink: posts/:abbrlink/ abbrlink: alg: crc32 rep: hex
生成的链接将会是这样的(官方样例):四种可供选择
1 2 3 4 5 6 7 8 9 10 11 crc16 & hex https:// post.zz173.com/posts/ 66 c8.html crc16 & dec https:// post.zz173.com/posts/ 65535 .html crc32 & hex https:// post.zz173.com/posts/ 8 ddf18fb.html crc32 & dec https:// post.zz173.com/posts/ 1690090958 .html 12345678910
生成完后,原md文件的Front-matter 内会增加abbrlink 字段,值为生成的ID 。这个字段确保了在我们修改了Front-matter 内的博客标题title或创建日期date字段之后而不会改变链接地址。
评论 Waline 增强版 参考链接Hexo NexT Waline评论
各版块透明度修改 内容板块透明 themes\next\source\css\_schemes\Pisces\_layout.styl文件 .content-wrap 标签下 background: white修改为:
1 background : rgba(255 ,255 ,255 ,0 .7 ); //0 .7 是透明度
菜单栏背景 themes\next\source\css\_schemes\Pisces\_layout.styl文件.header-inner标签下 background: white修改为:
1 background : rgba(255 ,255 ,255 ,0 .7 ); //0 .7 是透明度
站点概况背景 themes\next\source\css\_schemes\Pisces\_sidebar.styl 文件.sidebar-inner 标签下 background: white修改为:
1 background : rgba(255 ,255 ,255 ,0 .7 ); //0 .7 是透明度
然后修改博客根目录themes\next\source\css\_schemes\Pisces\_layout.styl文件.sidebar 标签下 background: $body-bg-color修改为:
1 background : rgba(255 ,255 ,255 ,0 .7 ); //0 .7 是透明度
按钮背景 themes\next\source\css\_common\components\post\post-button.styl 同上修改对应位置为 background: transparent;
标签修改 打开themes/next/layout/page.swig
修改这里可以修改标签页的标签显示
在这里添加东西会在标签页面上显示
彩色标签云 在/themes/next/layout/目录下,新增tag-color.swig文件,加入下方代码:
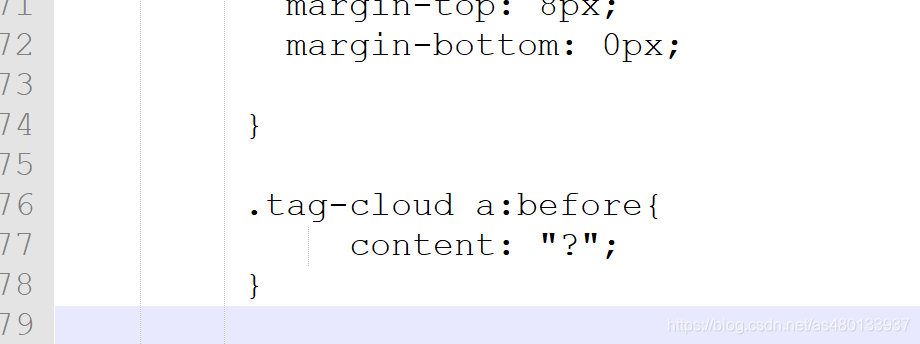
1 2 3 4 5 6 7 8 9 10 11 12 13 14 15 16 17 18 19 20 21 22 23 24 25 26 27 28 29 30 31 32 33 34 35 <script type="text/javascript" > var alltags = document .getElementsByClassName ('tag-cloud-tags' ); var tags = alltags[0 ].getElementsByTagName ('a' ); for (var i = tags.length - 1 ; i >= 0 ; i--) { var r=Math .floor (Math .random ()*75 +130 ); var g=Math .floor (Math .random ()*75 +100 ); var b=Math .floor (Math .random ()*75 +80 ); tags[i].style .background = "rgb(" +r+"," +g+"," +b+")" ; } </script> <style > .tag-cloud-tags { text-align : center; counter-reset : tags; } .tag-cloud-tags a { border-radius : 6px ; padding-right : 5px ; padding-left : 5px ; margin : 8px 5px 0px 0px ; } .tag-cloud-tags a :before { content : "?" ; } .tag-cloud-tags a :hover { box-shadow : 0px 5px 15px 0px rgba (0 ,0 ,0 ,.4 ); transform : scale (1.1 ); transition-duration : 0.15s ; } </style >
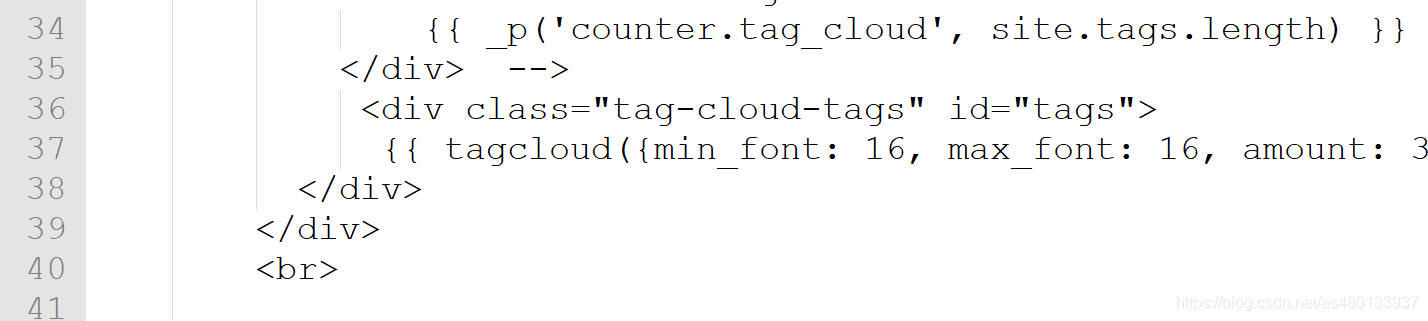
在/themes/next/layout/page.swig/中引入tag-color.swig:
在下方加上 {\% include 'tag-color.swig' %} 代码
1 2 3 4 5 6 7 8 9 <div class ="tag-cloud" > <!-- <div class ="tag-cloud-title" > {{ _p('counter.tag_cloud', site.tags.length) }} </div > --> <div class ="tag-cloud-tags" id ="tags" > {{ tagcloud({min_font: 16, max_font: 16, amount: 300, color: true, start_color: '#FFF', end_color: '#FFF'}) }} </div > </div> + {\% include 'tag-color.swig' %}
或者将上方代码直接添加到下方
将标签云放到首页 在路径:/themes/next/layout/index.swig 中
{\% block content %}下面添加下方代码
1 2 3 4 5 6 7 8 9 10 {\% block content %} <div class ="tag-cloud" > <div class ="tag-cloud-tags" id ="tags" > {{ tagcloud({min_font: 16, max_font: 16, amount: 300, color: true, start_color: '#fff', end_color: '#fff'}) }} </div > </div> <br> {\% include 'tag-color.swig' %}
归档页美化 修改/themes/next/layout/_macro/post-collapse.swig后的代码如下:
1 2 3 4 5 6 7 8 9 10 11 12 13 14 15 16 17 18 19 20 21 22 23 24 25 26 27 28 29 30 31 32 33 34 {\% macro render (post) %} <article class ="post post-type-{{ post.type | default('normal') }}" itemscope itemtype="http://schema.org/Article" > <header class ="post-header" > <{\% if theme.seo %}h3{\% else %}h2{\% endif %} class="post-title"> {\% if post.link %}{# Link posts #} <a class ="post-title-link post-title-link-external" target ="_blank" href ="{{ url_for(post.link) }}" itemprop ="url" > {{ post.title or post.link }} <i class ="fa fa-external-link" > </i > </a > {\% else %} <a class ="post-title-link" href ="{{ url_for(post.path) }}" itemprop ="url" > {\% if post.type === 'picture' %} {{ post.content }} {\% else %} <span itemprop ="name" > {{ post.title | default(__('post.untitled')) }}</span > {\% endif %} </a > {\% endif %} </{\% if theme.seo %}h3{\% else %}h2{\% endif %}> <div class ="post-meta" > <time class ="post-time" itemprop ="dateCreated" datetime ="{{ moment(post.date).format() }}" content ="{{ date(post.date, config.date_format) }}" > {{ date(post.date, 'MM-DD') }} </time > </div > </header > </article> {\% endmacro %}