如何用 IDEA 提升十倍开发效率?
工欲善其事,必先利其器。想要提升编程开发效率,必须选择一款顺手的开发工具。
JetBrains 公司提供了一系列功能强大、风格统一的开发工具,深受开发者喜爱。其中,IDEA 是面向 Java 开发的专业 IDE(集成开发环境),90% 以上的企业都在使用 IDEA 进行 Java 开发,而不是用其他的工具如 Eclipse。

但是,想要开发效率最大化,仅有好的开发工具是不够的,还要能够熟练地使用它。对于 IDEA 的新用户来说,面对功能如此丰富的开发工具可能会有些迷茫,但又不想花时间去学习如何使用,于是仅仅把它当做能编写代码的记事本了(就是好看点),大材小用。
为大家总结了自己掌握的 IDEA 使用技巧,包括实用插件、开发技巧和阅读源码的技巧等。只需花 5 分钟的时间阅读,即可提升十倍的开发效率!

什么,你说 IDEA 太贵用不起?如果还是学生党,可以免费使用 IDEA 及 JetBrains 全系列产品哦~
地址:https://www.jetbrains.com/shop/eform/students
快捷****键
要使用任何 IDE(集成开发环境)提升开发及阅读源码的效率,首先要活用快捷键。
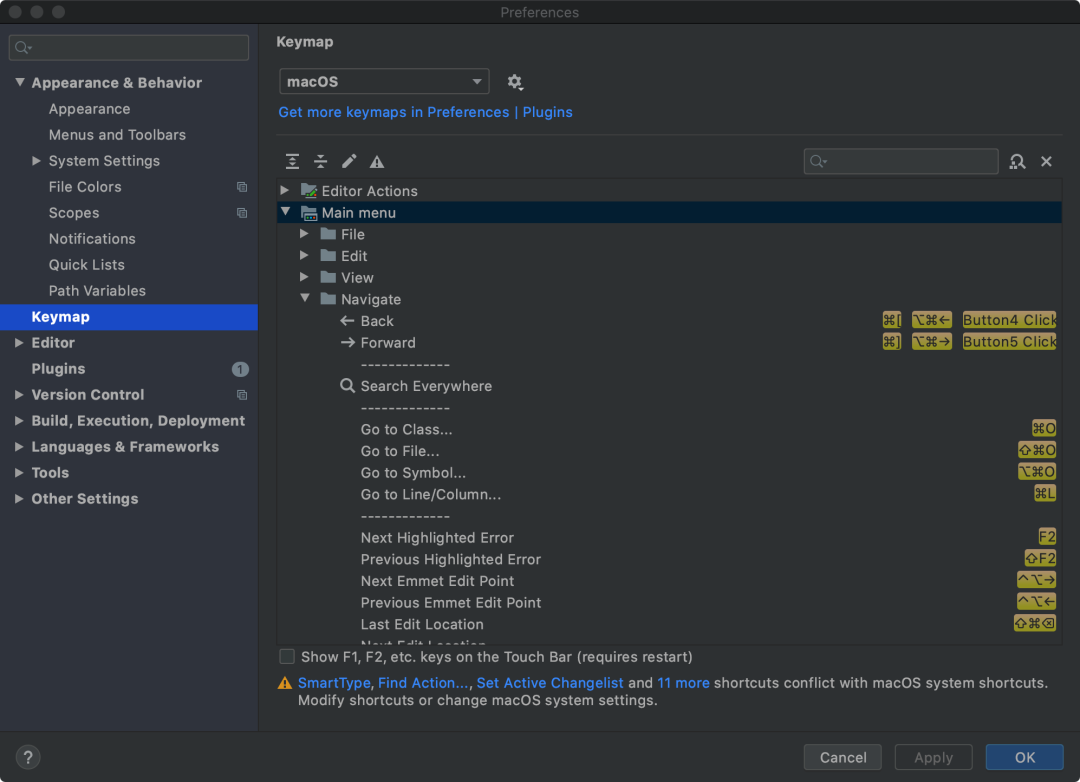
在 IDEA 中,可以在 preferences 的 keymap 设置中查询及设置快捷键,如图:
实用插件
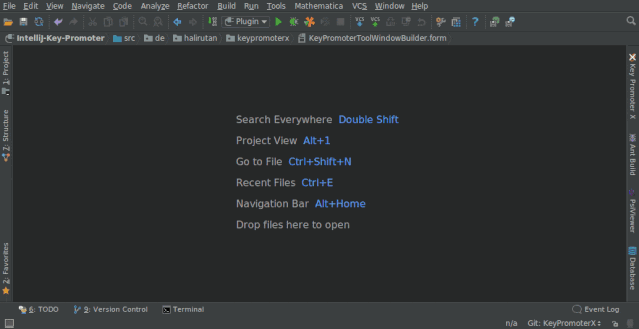
1. Key Promoter X
快捷键提示插件。当你执行鼠标操作时,如果该操作可被快捷键代替,会给出提示,帮助你自然形成使用快捷键的习惯,告别死记硬背。
地址:https://plugins.jetbrains.com/plugin/9792-key-promoter-x/
2. AiXcoder Code Completer
代码提示补全插件。使用 AI 去自动提示和补全代码,比 IDEA 自带的代码补全更加智能化。
地址:https://plugins.jetbrains.com/plugin/13574-aixcoder-code-completer/

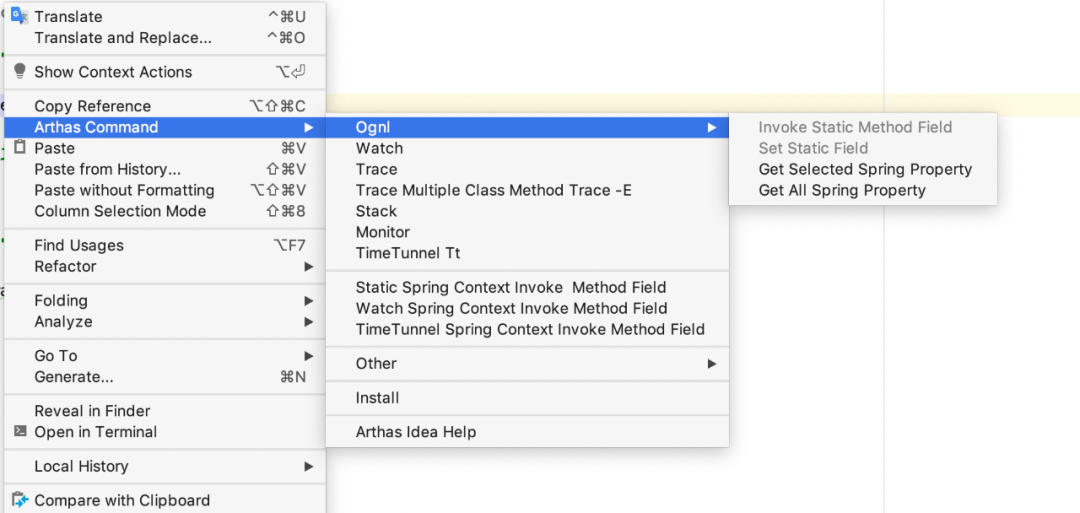
3. Arthas Idea
Arthas 命令生成插件。Arthas 是阿里开源的 Java 在线诊断工具,该插件可以自动生成 Arthas 在线 Java 代码诊断命令,不用再到官网翻文档拼命令啦!
地址:https://plugins.jetbrains.com/plugin/13581-arthas-idea/
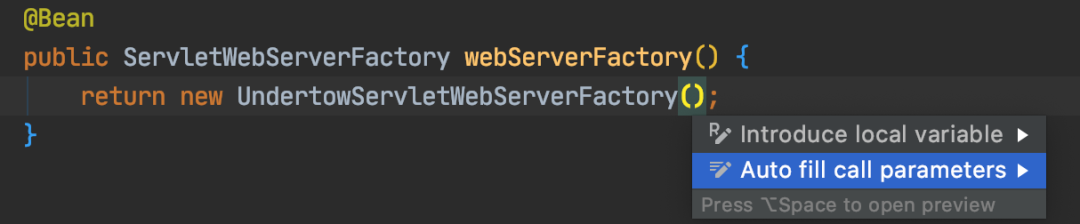
4. Auto filling Java call arguments
代码生成插件。通过快捷键自动补全函数的调用参数,针对包含大量参数的构造函数和方法非常有用!
地址:https://plugins.jetbrains.com/plugin/8638-auto-filling-java-call-arguments/
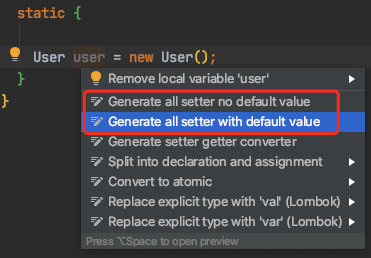
5. GenerateAllSetter
代码生成插件。一键生成指定对象的所有 set 方法调用代码,自动赋值,或者生成某方法的返回值,这在单元测试造假数据时非常有用。
地址:https://plugins.jetbrains.com/plugin/9360-generateallsetter/
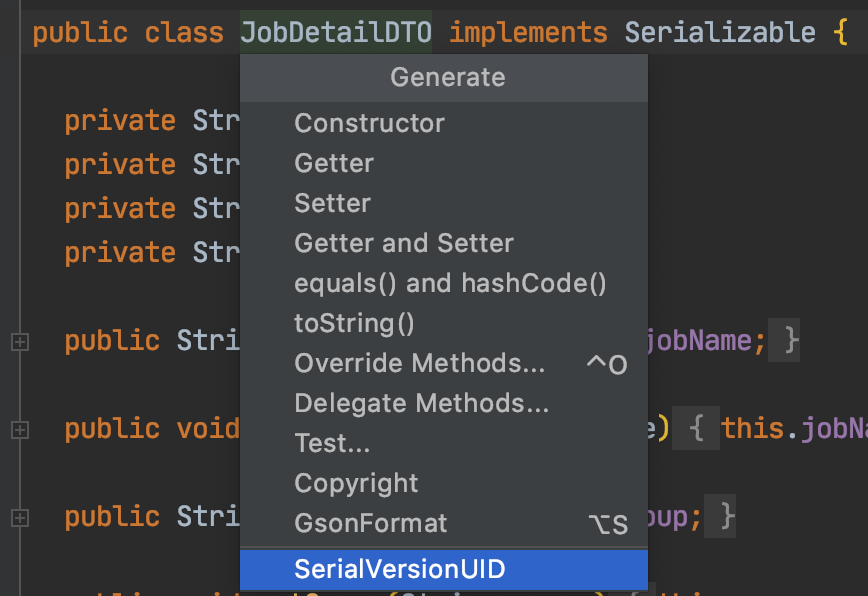
6. GenerateSerialVersionUID
代码生成插件。一键为实现 Serializable 接口的类生成 SerialVersionUID。
地址:https://plugins.jetbrains.com/plugin/185-generateserialversionuid/
7. GsonFormat
代码生成插件。在类中使用,粘贴一段 Json 文本,能自动生成对象的嵌套结构代码。
地址:https://plugins.jetbrains.com/plugin/7654-gsonformat/
8. Lombok
代码生成插件。配合 Lombok 依赖及注解使用,能够大大减少 POJO(简单老式 Java 对象)的代码量。
安装插件后还要开启注解支持,可以参照这篇文章进行配置:https://www.baeldung.com/lombok-ide 。
插件地址:https://plugins.jetbrains.com/plugin/6317-lombok/
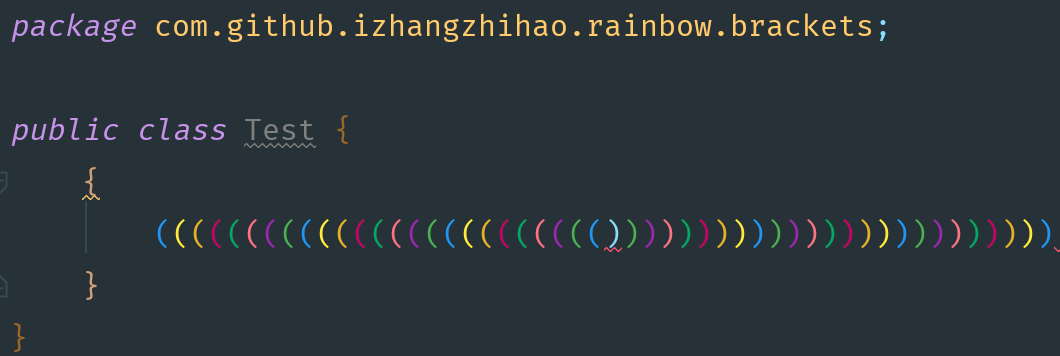
9. Rainbow Brackets
代码浏览插件。通过颜色区分括号嵌套层级,便于阅读,能够更快地对错误代码进行定位和调整。但是建议不要在代码中出现大量的嵌套哦!
地址:https://plugins.jetbrains.com/plugin/10080-rainbow-brackets/
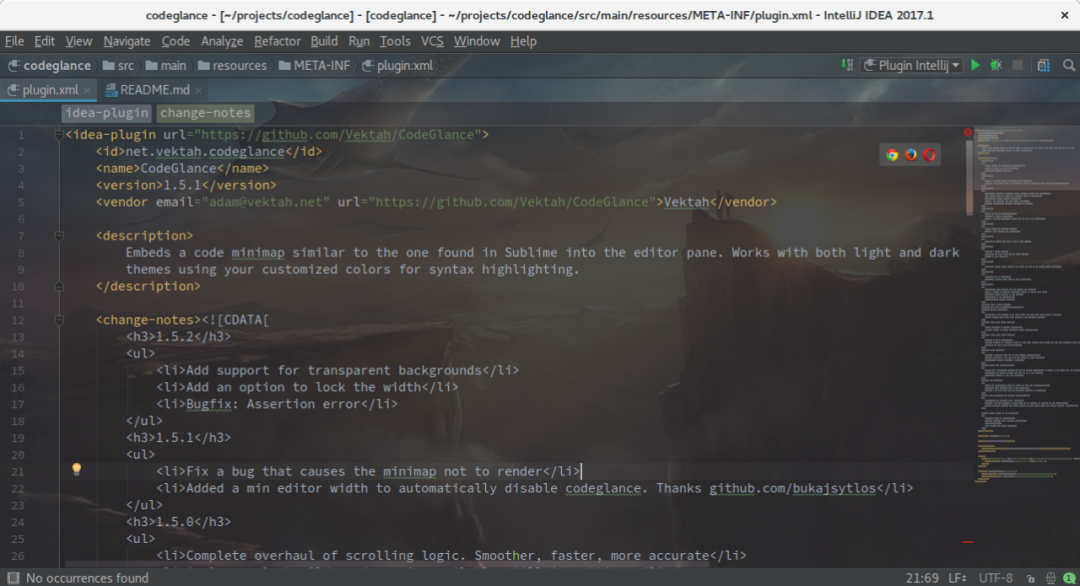
10. CodeGlance
代码浏览小地图插件。在编辑器右侧生成 code minimap,可以拖拽小地图光标快速定位代码,阅读行数很多的代码文件时非常实用。
地址:https://plugins.jetbrains.com/plugin/7275-codeglance/
11. GitToolBox
Git 增强插件。在自带的 Git 功能之上,新增了查看 Git 状态、自动拉取代码、提交通知等功能。最好用的是可以查看到每一行代码的最近一次提交信息。
地址:https://plugins.jetbrains.com/plugin/7499-gittoolbox/

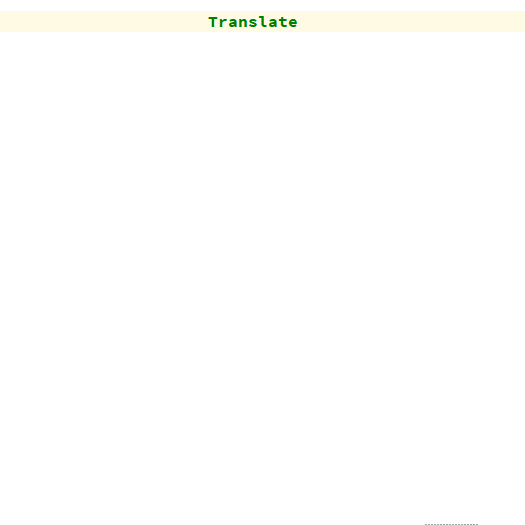
12. Translation
翻译插件。程序员最痛苦的事莫过于阅读代码时遇到不懂的英文单词,有了这个插件,鼠标选中文本,点击右键即可自动翻译成多国语言。
地址:https://plugins.jetbrains.com/plugin/8579-translation/
开发技巧
通过插件可以给 IDEA 增加新功能,但是 IDEA 自带的功能也非常强大,有很多实用的开发技巧。
\1. 使用上述代码生成和浏览插件
\2. 熟练使用快捷键,通过上述 Key Promoter X 插件渐进式熟悉快捷键。
网上对快捷键的整理太多了,此处不再赘述,可以参考这两篇文章:
- IDEA Mac 快捷键指南,地址:https://www.jianshu.com/p/454c71172c46
- IDEA Win 常用快捷键,地址:https://www.jianshu.com/p/5de7cca0fefc
比较常用的快捷键是换行、复制/删除当前行、代码格式化等。
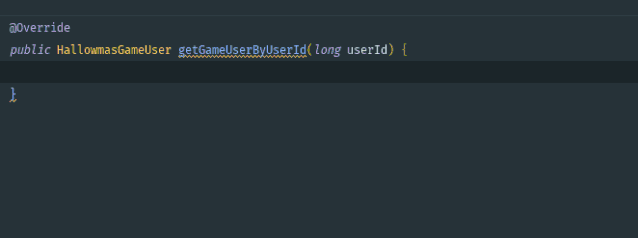
\3. 利用快捷键为类快速生成代码(Win: Alt+Insert,Mac: command + n)
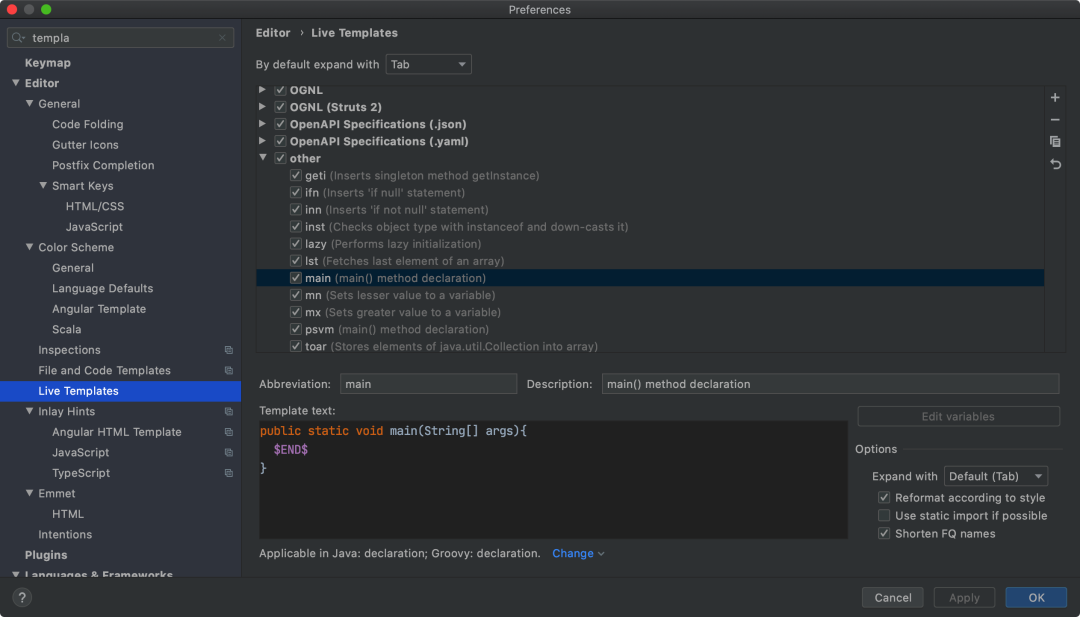
4. 运用代码模板(Live Templates)
代码模板是 IDEA 中非常好用的功能,可以通过缩写(关键词)来生成指定的代码段,很多重复的代码都可以用这种方式来快速生成,提高效率的同时降低了出错概率。
示例如下:
IDEA 为我们内置了很多代码模板,比如 main:
也可以自己定义缩写和要生成的代码段:
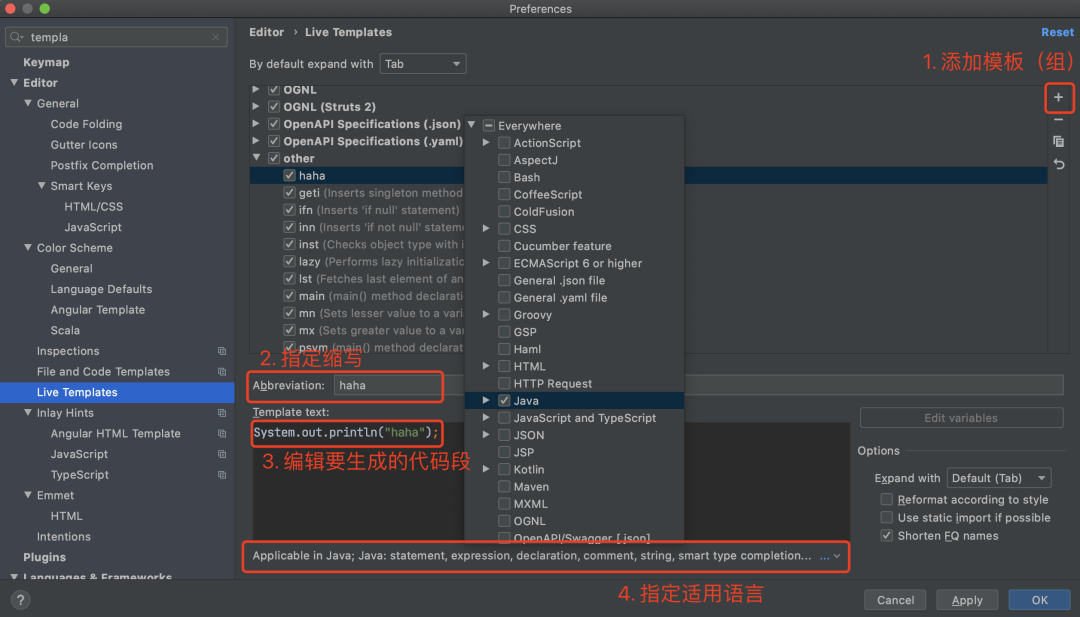
还可以使用预定义变量、自定义变量及使用内置函数,更多高级用法可以参考这篇文章:IDEA 中 live template 的详细使用教程(地址:https://www.jianshu.com/p/3974df6572af)
5. 使用内置剪切板保存复制历史
写代码的必备技能是复制粘贴,不仅可以提高效率,还可以降低出错率(比如用户、秘钥、地址等信息)。

IDEA 内置了剪切板,可以帮助我们保存复制历史,粘贴时按 shift + ctrl + v 即可选择复制。
不满足于内置的剪切板?还可以使用更高级的软件:Ditto(Windows)或 Alfred(Mac)
6. 使用内置的 Git
IDEA 内置了 Git 辅助工具,能够可视化分支管理/切换,代码提交/更新/冲突解决/回退,代码历史版本查看等。在顶部菜单 VCS > Git 中可以查看所有功能:
在底部栏中可以查看 Git 日志:
7. 使用内置 HTTP Client 测试接口
不需要再使用 Postman 等外置接口测试工具了,IDEA 内置了 HTTP Client,通过编写请求脚本来进行调用,非常灵活。
在顶部菜单的 Tools > HTTP Client 中打开:
编写脚本进行 HTTP 接口测试:
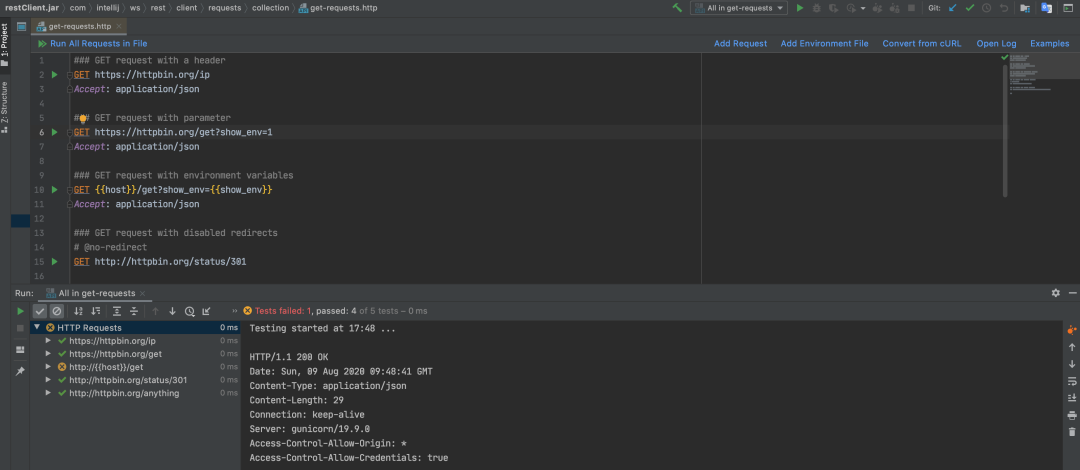
详细用法请阅读官方使用文档,地址:https://www.jetbrains.com/help/idea/http-client-in-product-code-editor.html
阅读源码技巧
优秀的程序员一定会阅读很多源码,阅读源码也是有很多技巧的。
通常,根据他人总结的项目文档,先看整体(目录和类图)再看局部(类和函数)。对于 Java 项目,就是先查看包的层级关系,然后分析包中类(接口)之间的关系,包括继承、实现、委托、方法调用等,最后再查看某个类具体的属性和方法的具体实现。
IDEA 为整个阅读源码的过程提供了一系列好用的功能支持,能够大大提高阅读效率。
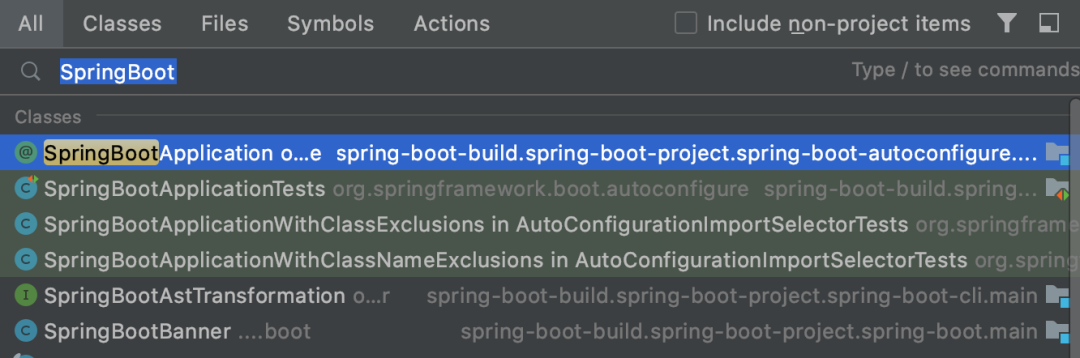
1. 文件/类搜索
根据文件名搜索文件/类
快捷键:shift + shift(连按两次)
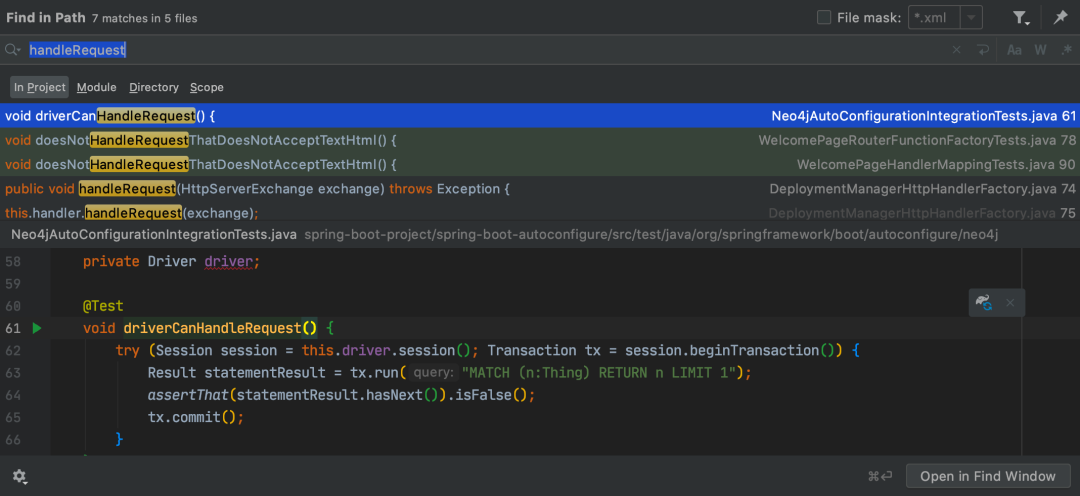
2. 字段搜索
根据文件内容搜索,可直接定位到目标内容位置,支持局部(当前文件或选中代码段)和全局搜索(项目/模块/目录/作用域等)
局部搜索快捷键:Win: Ctrl + F Mac: Command + F
全局搜索快捷键:Win: Ctrl + shift + F Mac: Command + Shift + F
3. 跳转到上/下次光标的位置
查看源码时,经常需要在两个类中来回跳转,这个功能就变得相当实用!
查看上次光标位置快捷键:Win: Alt + ← Mac: Option + Command + ←
查看下次光标位置快捷键:Win: Alt + → Mac: Option + Command + →
4. 查看接口的实现类(或接口方法的实现)
如果光标选中接口方法,直接跳转到该方法的具体实现。如果有多个实现,则可以选择跳转到指定的实现类。
快捷键:Win: Ctrl + Alt + B Mac: Option + Command + B

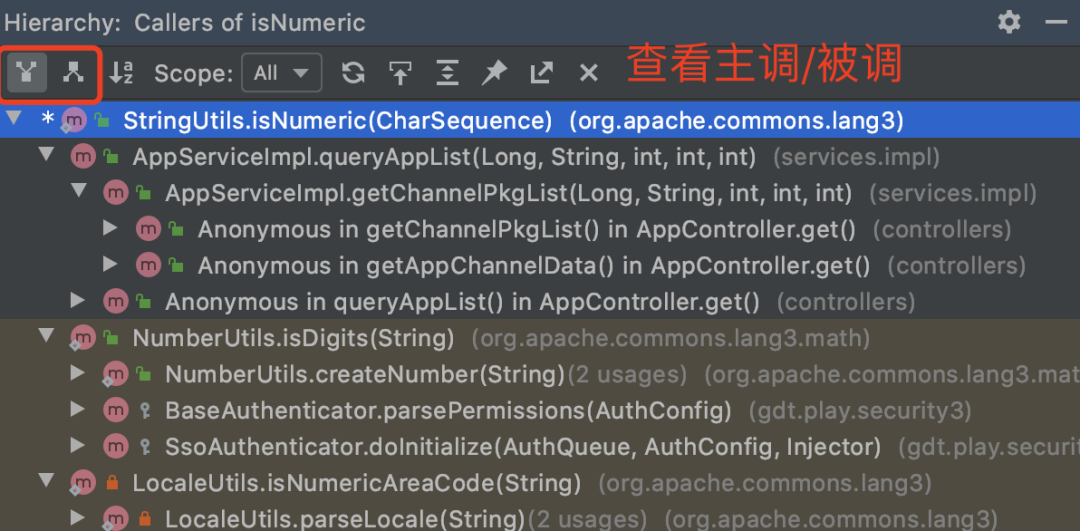
5. 查看方法调用树
可以查看指定方法的所有调用方和被调方。
快捷键:Win: Ctrl + Alt + H Mac: Control + Option + H
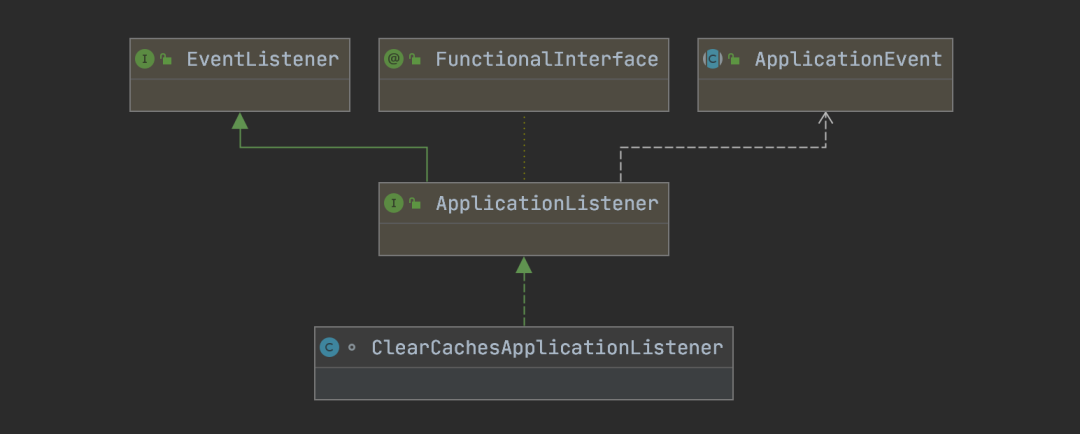
6. 查看类关系图
非常实用的功能,直观清晰地展现类的关系,便于分析。
快捷键:Win: Ctrl + Alt + U Mac: Shift + Option + Command + U
7. 查看类的继承树
能够查看类的父类和子类继承关系。
快捷键:Win: Ctrl + H Mac: Control + H

8. 查看定义的变量在哪里被声明/调用
如果光标在变量声明处,则查看使用该变量的代码;如果光标在使用变量处,则查看变量的声明位置。
快捷键:Win: Ctrl + B Mac: Command + B 或按住 Ctrl / Command 点击鼠标左键
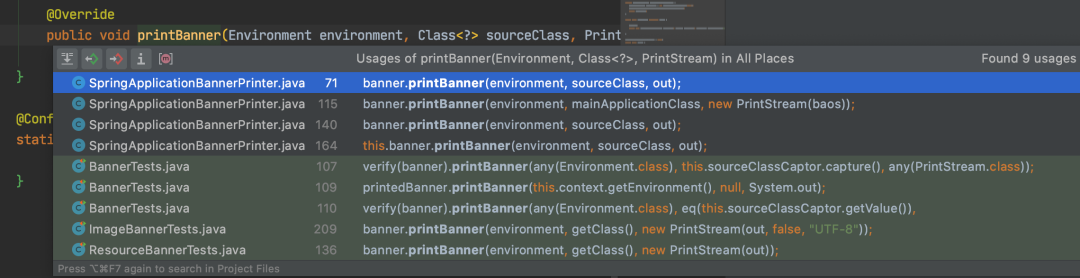
9. 查看定义的变量在哪里被调用
功能和上述功能类似,仅查看变量的调用位置。
快捷键:Win: Ctrl + Alt + F7 Mac: Option + Command + F7
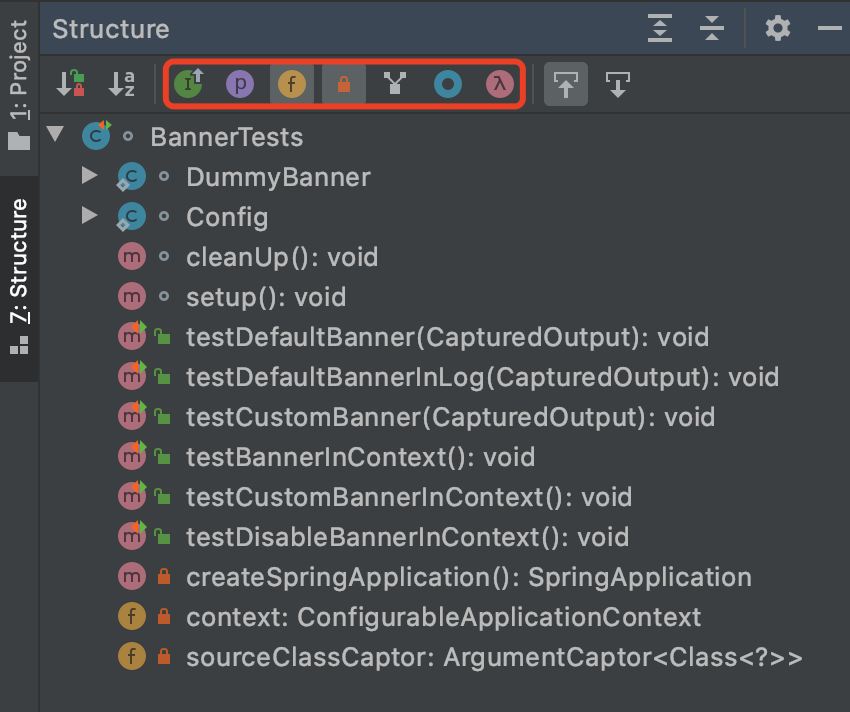
10. 查看类的结构
能够查看某一个类的属性、域、方法、继承方法、匿名类、Lambdas,并快速跳转到指定位置。
快捷键:Win: Alt + 7 Mac: Command + 7
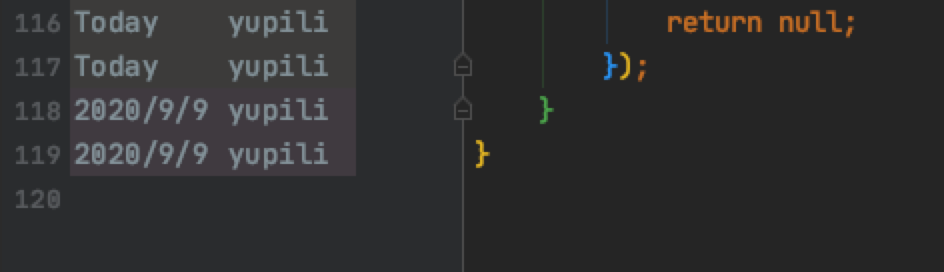
11. 查看每行代码的提交信息(需被 Git 管理)
在代码行数列表处右键,点击 Annotate 开启代码提交信息显示:

效果如下,烂代码元凶快快显形!
以上就是 IDEA 使用技巧啦,快去写几行代码熟悉下吧~

 知乎懂哥太多了,民法典上写得清清楚楚的东西还要来杠